Back to featured insights
How to Create a Multilingual WordPress Site for Hong Kong Businesses
Learn how to create a Multilingual WordPress site for Hong Kong businesses. This blog guides you through different methods to translate your content and reach local and global audiences effectively.
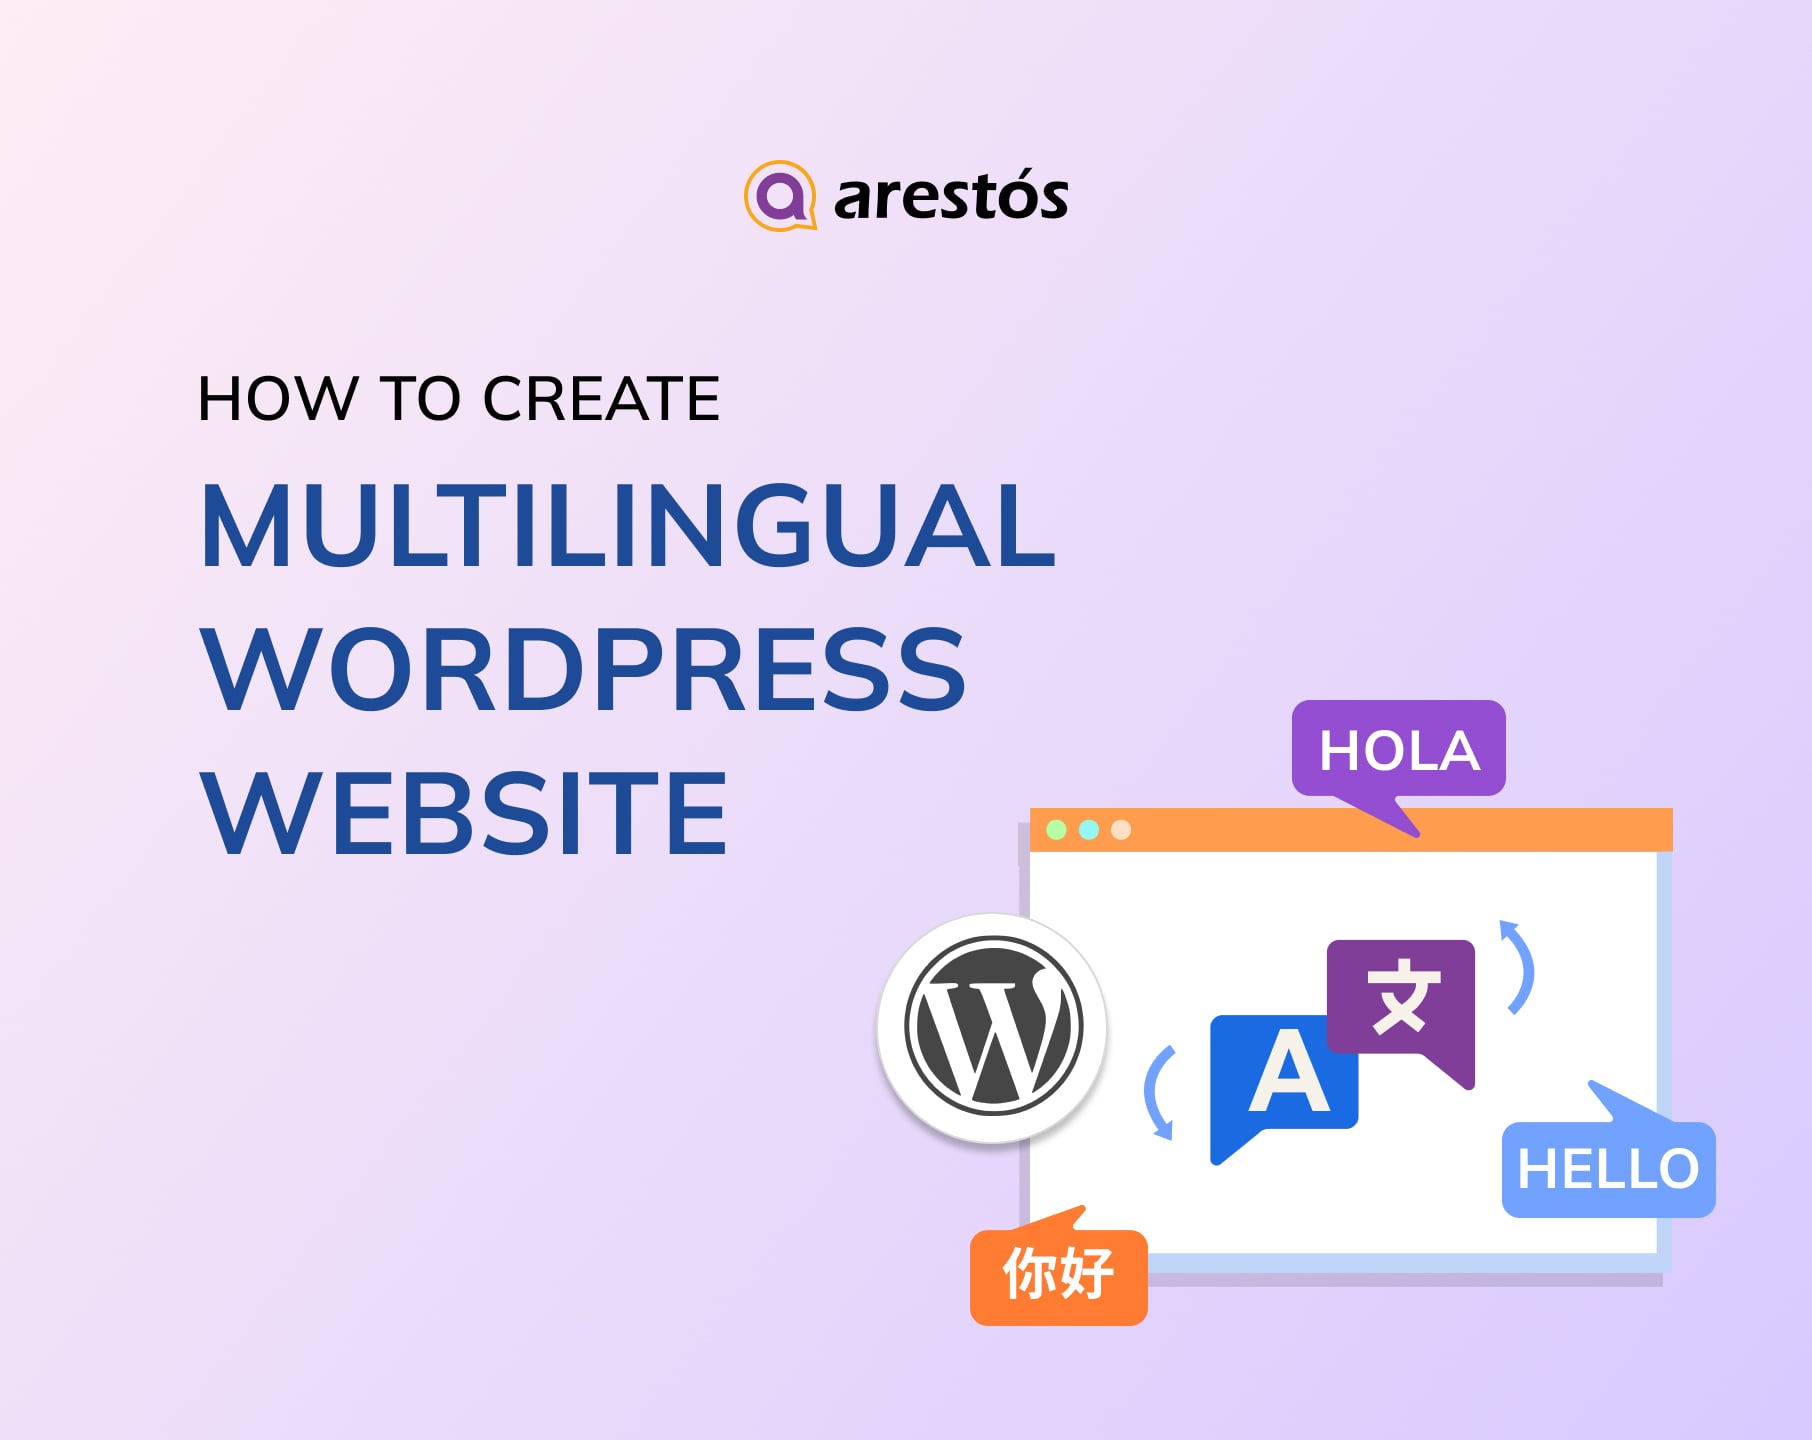
Table of Content
Share
Creating a Multilingual WordPress site for Hong Kong businesses is essential to reach a wider audience and stay competitive. A multilingual website offers clear benefits, including improved customer experience, stronger engagement, and better SEO performance in local and international markets.
This guide is designed for Hong Kong business owners, startups, and content creators who want to reach local and cross-border audiences effectively. In this article, we’ll show you the best methods, plugins, and practical tips to build and manage a multilingual WordPress site tailored for Hong Kong’s market.
What Is a Multilingual WordPress Website?
A multilingual WordPress website is a WordPress-based site that allows the same content to be displayed in multiple languages, enabling users to choose the language they are most comfortable with. Instead of relying on automatic browser translation, a multilingual site provides properly translated and localized content managed directly within WordPress.
Each page, post, product, or form can have separate language versions, while still being linked together as one unified website. Users can switch between languages using a language switcher, typically placed in the header, menu, or footer.
For markets like Hong Kong, where English and Traditional Chinese are both widely used, a multilingual WordPress website helps businesses communicate clearly with different audiences while maintaining a consistent brand experience.

Why Hong Kong Businesses Need a Multilingual Website
In a global financial hub like Hong Kong, a multilingual website is no longer optional—it is a strategic requirement for reaching both local and international audiences effectively.
- Hong Kong is a naturally bilingual market: English and Traditional Chinese are both widely used in business, government, and daily communication. A multilingual website ensures your brand speaks clearly to all local audiences.
- Different languages serve different user intents: English is often preferred for corporate profiles, international clients, and legal information, while Traditional Chinese builds stronger trust for local services, pricing, and customer support.
- Stronger trust and credibility for local users: Hong Kong customers expect professional websites to support Traditional Chinese. A bilingual site signals legitimacy, compliance, and long-term commitment to the local market.
- Better conversion rates across customer segments: Users are more likely to contact, sign up, or purchase when content is presented in their preferred language, especially for service-based and B2B businesses.
- SEO advantages in Hong Kong search results: Multilingual websites allow you to rank for both English and Chinese keywords on Google, capturing higher search visibility in the Hong Kong market.
- Support for cross-border and international business: Hong Kong businesses often target Mainland China and overseas markets. Adding Simplified Chinese or English versions helps expand reach without creating separate websites.
- Competitive advantage in a crowded digital market: Many Hong Kong websites still rely on a single language. Offering a fully localized multilingual experience helps your brand stand out.
- Scalable growth for future expansion: A multilingual WordPress website makes it easy to add new languages as your business grows across Asia or globally.
How to Create a Multilingual WordPress Site for Hong Kong Businesses
Depending on your business size, budget, and technical needs in the Hong Kong market, you can choose from several effective methods to build a multilingual WordPress website.
- Method 1: Create a Multilingual WordPress Website Using Weglot (Best for Beginners)
- Method 2: Create a Multilingual WordPress Website Using WPML (Best for Large/Complex Websites)
- Method 3: Create a Multilingual WordPress Website Using Polylang (Best Free Option)
- Method 4: Create a Multilingual WordPress Site Without a Plugin
Let’s explore each method in detail to help you choose the most suitable multilingual WordPress solution for your Hong Kong business.
Method 1: Create a Multilingual WordPress Website Using Weglot (Best for Beginners)
Weglot is well suited for Hong Kong businesses that need a fast and low-maintenance way to launch a multilingual WordPress website. It automatically detects and translates all site content, making it an efficient option for beginners, agencies working under tight deadlines, or teams that want to go live quickly without managing multiple language versions manually.
The plugin uses machine translation as a foundation and allows users to refine translations through an intuitive dashboard. Because content does not need to be duplicated into separate posts or pages, setup is simple and can be completed in just a few minutes.
Pros
- Automatically translates all website content, including themes and third-party plugins
- AI-powered translations adapted to your brand tone and target audience
- Supports 110+ languages with smart language detection for visitors
- Intuitive dashboard that makes reviewing and editing translations easy
- No need to duplicate pages or manage separate posts for each language
Cons
- Free plan is restricted to one additional language and a 2,000-word limit
- Subscription-based pricing can become costly for content-heavy websites
Step 1: Sign up and choose your platform
Visit the Weglot website to sign up for an account, then log in to create a new project and choose WordPress as your website platform.

Step 2: Install the Weglot plugin and activate it
Follow the setup prompts to install the plugin in your WordPress dashboard, then copy the API key provided in your Weglot account.

Step 3: Enter API key and choose languages
In your WordPress dashboard, navigate to Settings » Weglot and paste the API key into the Main Configuration section. After that, choose your source language and select the target languages from the available options.

Click Save Changes to complete the setup, and Weglot will automatically apply the settings and activate multilingual functionality on your website.

Step 4: Use the floating language switcher
Open your website and use the floating language switcher to change languages; Weglot will instantly translate all visible content, including menus, widgets, and form fields, according to the visitor’s selected language.

That’s all it takes—your multilingual WordPress website is now live with Weglot and ready to serve visitors from Hong Kong and beyond.
Method 2: Create a Multilingual WordPress Website Using WPML (Best for Large/Complex Websites)
WPML is one of the most established multilingual plugins for WordPress and is widely used for websites with large-scale or complex content structures. It offers a high level of flexibility, allowing you to control everything from URL formats to how different content types are translated.
Compared to beginner-focused tools, WPML has a steeper learning curve due to its extensive configuration options. However, once properly set up, it is highly stable and reliable—making it an excellent choice for businesses that require full manual control, advanced workflows, or collaboration with professional translators.
Pros
- Well suited for large and complex WordPress websites
- Provides full control over translations across posts, pages, menus, taxonomies, media, and theme/plugin strings
- Supports both manual and automatic translation with built-in review workflows
- Allows collaboration with team members or professional translators
Cons
- Initial setup can be challenging for beginners
- The interface may feel overwhelming due to the number of settings
Step 1: Setting up WPML
To begin, sign up for an account on the WPML website, then navigate to the Downloads section in your account dashboard.

WPML uses a main installer plugin to manage all core components and add-ons. Install this plugin on your WordPress site like any standard plugin, and once activated, WPML will prompt you to register your website.

Click Register WPML and follow the on-screen steps to generate and add your site key. After registration, WPML will prompt you to select which components to install.
The main plugin you need is WPML Multilingual CMS. It is also strongly recommended to install the String Translation add-on, which allows you to translate text outside of posts and pages—such as the site tagline, widget titles, buttons, and strings from themes or other plugins. This ensures your WordPress website is fully translated across all elements.

You can install additional components based on your site’s needs. For example, if you’re running a WooCommerce store, make sure to select WooCommerce Multilingual & Multicurrency to properly manage product translations and multiple currencies.
After selecting the components, click Install and Activate to proceed. Once the installation is complete, you’ll see the Configure WPML option. Click it to launch the setup wizard and begin configuring your multilingual website.

The wizard walks you through setting up your default language and the languages you want to add.
Just start typing to search for each language and select the ones you want. You can add as many as you like.

On the next screen, select how your multilingual URLs will be structured. Options include subdirectories (e.g., /fr/ or /de/), a separate domain for each language, or URL parameters. Subdirectories are often recommended because they are easier to set up and are SEO-friendly.

Click Continue to proceed. On the next screen, select who will handle translations. If you’re unsure, choose Only Myself—additional translators can be added later if needed.

Click Continue to complete the setup. Once the wizard finishes, click Go to Translation Dashboard to start managing and editing your translations.

Step 2: Translating Your Site with WPML
The Translation Dashboard allows you to manage translations for all your website content. Select the post or page you want to work on, then click Translate your content to begin.

Next, select who will handle the translation. Options include yourself, another user with translator permissions, or a professional translation service.

Click ‘Translate’ to continue.
Now you’ll see the WPML translation editor. Your original content will appear on the left, and you’ll enter translations on the right.

Just click on any text to start translating it. When you’re done, click the ‘Complete translation’ button to save and publish.
Step 3: Translating Non-Content Aspects of Your Site with WPML
WPML extends translation capabilities beyond posts and pages. It also allows you to translate your website’s backend, including strings from plugins, themes, menus, and taxonomies such as categories and tags.

Step 4: Adding a Language Switcher to Your Site Using WPML
After translating your content, the next step is to make it easy for visitors to switch languages. WPML provides a built-in language switcher that can be added to your site with just a few clicks.
Option 1: Use the Site Editor
Go to Appearance » Editor, then open your navigation menu. Click the [+] button and add the ‘Navigation Language Switcher’ block.

You can also place the switcher anywhere else — like the footer or sidebar — by dragging the block into place.
Option 2: Use WPML Settings
Go to WPML » Languages and scroll to the ‘Language switcher options’ tab.

Here, you’ll find easy settings to add switchers to your menu, widget area, or footer.
Just click on each of the buttons to add those language switchers.

This completes the setup with WPML, allowing you to translate your entire WordPress site—from posts and pages to menus, widgets, and theme text.
Next, let’s explore another popular multilingual plugin that offers more manual control: Polylang.
Method 3: Create a Multilingual WordPress Website Using Polylang (Best Free Option)
Polylang is a great option for users seeking a free multilingual plugin with strong WordPress integration. It’s particularly suitable for bloggers and small businesses that want to manage translations without immediately investing in a premium solution.
With over 700,000 active installations, Polylang allows you to translate an entire site using the free version. However, if you’re running WooCommerce or need dedicated support, consider upgrading to Polylang Pro or purchasing the WooCommerce addon, which enables translation of product categories, shop pages, and checkout fields.
Pros
- Completely free with no limits on the number of languages or word count
- Supports translation of posts, pages, media, categories, tags, and widgets
- Offers flexible URL structures and SEO-friendly slugs
Cons
- Interface is more technical compared to beginner-friendly plugins like Weglot or TranslatePress
- Some features, such as WooCommerce support, require a paid addon
Step 1: Add Your Languages
First, install and activate the Polylang plugin. If you need help, follow a standard guide for installing WordPress plugins.
Once activated, navigate to Languages » Languages to begin setting up your multilingual website.

In the Languages tab, add your site’s default language first, then include any additional languages you want to support.
Step 2: Translate Site Title and Metadata
Next, go to the Strings Translations tab to translate your site title, tagline, and date/time formats. This helps maintain consistency across your theme’s header and metadata.

Step 3: Set URL Format for Translations
Next, navigate to Languages » Settings to configure how your multilingual URLs are structured. Click Settings under URL modifications to access these options.

You can include the language code in your URLs—for example, https://example.com/en/my-post—to improve SEO and make URLs clearer. Click Save Changes once you’re done.

Step 4: Translate Posts and Pages
To begin translating content, open any post or page in the editor. You’ll see a language meta box where your default language is pre-selected.

Click the ‘+’ button next to any other language to create a translated version of that post. Repeat this for each language you want to support, and publish the content when ready.
Step 5: Translate Categories and Tags
If your site uses categories, tags, or custom taxonomies, these can also be translated. Go to Posts » Categories, add a term in your default language, then click the ‘+’ icons to create translations for each language.

Step 6: Add a Language Switcher
To allow visitors to switch languages, go to Appearance » Widgets. Click the ‘+’ icon and add the Language Switcher widget to your sidebar or footer.

Customize the widget settings to display language names, use a dropdown, hide the current language, and more. Once done, click Update to save your changes.

Visit your website to see the language switcher in action. It should appear in the sidebar or footer, depending on where you added the widget.
Here’s an example of how it looks on a demo website:

Method 4: Create a Multilingual WordPress Site Without a Plugin
With sufficient technical knowledge, it’s possible to create a multilingual WordPress site without using plugins. This approach requires setting up WordPress Multisite and managing multiple site versions manually.
Pros
- No dependency on third-party plugins, giving you full control over your site
- No additional plugin costs or subscription fees
- Can be highly customized to fit unique business or technical requirements
Cons
- Requires advanced technical knowledge, including WordPress Multisite setup and manual content management
- SEO management can be more complex compared to using a dedicated multilingual plugin
- Limited automation—translations must be handled manually or via external services
Step 1: Set Up a WordPress Multisite
Rather than translating content on a single website, this approach creates a separate site for each language. Once WordPress Multisite is enabled, go to Network Admin → Dashboard to begin managing your multilingual network.

In the sidebar, select Sites and click Create a New Site. This new subsite will host your content in a different language.

Fill in the details for your new subsite. It’s recommended to include the language code in the site URL for easy identification. For example, use de for a German site.

Click the Add Site button when you’ve completed the details. Your new subsite will then appear in the Sites list. Repeat these steps for each additional language you want to add.
Step 2: Add Content to the Translated Sites
Once all subsites are set up, you can begin adding translations of your original website content.
First, change the subsite’s front-end and back-end language by going to Settings → Network Settings in your dashboard. Under Language Settings, select the new language from the Default Language dropdown and click Save Changes.

Most themes in the WordPress directory are compatible with multilingual websites. To check supported languages, click the Translate theme_name link in the sidebar on the theme’s WordPress page.

If the theme supports your selected language, WordPress will automatically load the appropriate language files for the subsite. The same applies to plugins.
For website content like posts and pages, if you’re not using a multilingual plugin, you’ll need to create each translation manually. Online translation tools like Google Translate can help speed up the process, but you still have to upload the content yourself.
Step 3: Add Links to the Translated Sites
The final step is to let visitors switch languages. One way is to add custom links to your translated subsites on the main site’s homepage.
Go to Appearance → Menus in your main site’s dashboard. Under Add menu items, select the Custom Links tab. Enter the subsite URL and a label for the link, then click Add to Menu.

That’s it – your multilingual WordPress site is now ready to go live and welcome visitors from around the world.
Arestós specializes in building custom WordPress sites tailored to your business needs. From multilingual setup and design to SEO optimization, we help businesses create websites that engage visitors and drive growth.
Advantages of a Multilingual WordPress Site for Hong Kong Businesses
Having a multilingual website can provide Hong Kong businesses with several strategic benefits:
- Reach a Wider Audience – Hong Kong is a multilingual market with Cantonese, Mandarin, and English speakers. Translating your site helps you connect with all segments.
- Improve Customer Experience – Visitors prefer reading content in their native language, which increases engagement and reduces bounce rates.
- Boost SEO in Multiple Languages – A multilingual website allows your business to rank in search engines for different languages, increasing visibility locally and internationally.
- Enhance Brand Credibility – Showing that your business communicates in multiple languages demonstrates professionalism and builds trust.
- Increase Conversion Rates – Customers are more likely to purchase or submit inquiries when content is available in their preferred language.
- Support Cross-Border Expansion – Hong Kong businesses often target Mainland China, Southeast Asia, and international markets; a multilingual site makes expansion smoother.
- Adapt to Cultural Preferences – Localizing content beyond translation, like currency, date format, and cultural references, improves relevance and resonance with visitors.
A multilingual website can boost engagement and conversions. To maximize your site’s performance, don’t forget to complement your translation plugin with other top WordPress plugins — see our full list in Top 10 Must-Have WordPress Plugins For Your Site
What Website Content Should You Translate
When building a multilingual WordPress site, it’s important to know which parts of your website will have the biggest impact when translated. Focus on content that directly affects user experience, engagement, and conversions:
- Homepage & Key Landing Pages – The first impression matters; translate main pages to engage visitors immediately.
- Product or Service Pages – Ensure potential customers can understand your offerings in their native language.
- Blog Posts & Articles – Translate content that drives traffic and educates your audience.
- Menus, Navigation & Buttons – Help visitors navigate your site easily in their language.
- Forms & Call-to-Action (CTA) Elements – Translate contact forms, signup forms, and CTA buttons to increase conversions.
- Media & Image Text – Any text within images, infographics, or videos should be localized.
- Legal & Policy Pages – Privacy policy, terms of service, and disclaimers should be available in multiple languages for compliance.
- Emails & Notifications – Automatic emails and notifications should match the visitor’s language preference.
Frequently Asked Questions
1. How can I make a multilingual WordPress site for free?
Use free versions of plugins like Polylang or TranslatePress, or manually create separate sites with WordPress Multisite.
2. What content should I translate first?
Focus on high-impact pages like homepage, product/service pages, blog posts, menus, forms, and legal pages.
3. Which plugin is best for beginners?
Weglot is beginner-friendly with automatic translation and minimal setup, while TranslatePress offers a visual editor that is easy to use.
4. Will a multilingual site improve SEO?
Absolutely. Using proper multilingual SEO techniques, including language-specific URLs, meta tags, and hreflang, helps your site rank in multiple languages.
Conclusion
Building a multilingual WordPress site is no longer optional for Hong Kong businesses that want to expand their reach and improve user engagement. By translating your website’s key content, using the right plugins or methods, and optimizing for SEO, you can attract a wider audience, boost credibility, and increase conversions.
At Arestós, we specialize in creating custom WordPress websites tailored to your business needs. From multilingual setups to full design and SEO optimization, we help Hong Kong businesses launch websites that truly connect with their target audience.
Ready to take your website global? Contact us today and let our experts build a multilingual WordPress site that drives growth and engagement.
Subscribe to our newsletter!
Get updated to
the lastest IT trends
Related Posts
Update the latest technology trends for your business